
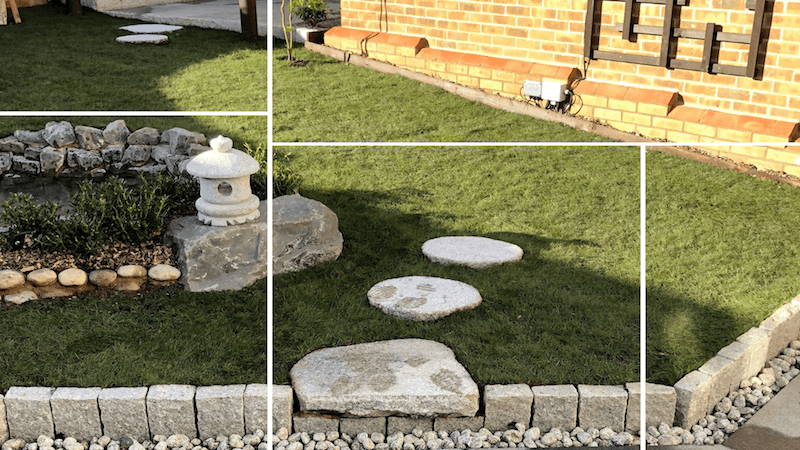
How do I create a stepping stone pathway across grass
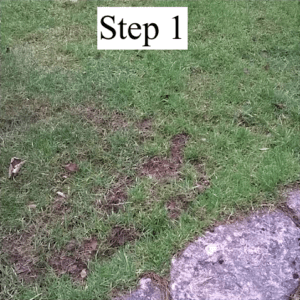
Step 1
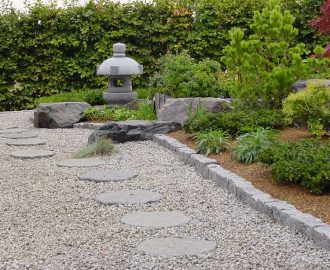
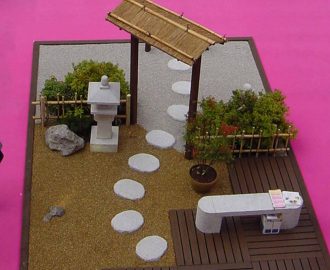
Start by choosing the right location. Japanese paths usually start and end with larger stepping stones. Use smaller ones in between.
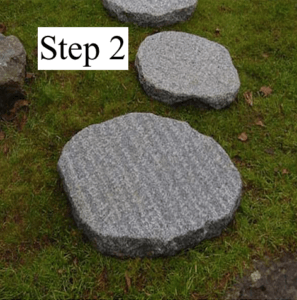
Step 2
Lay the stepping stones out to ensure they are in the correct position. The stepping stones should be set with their centers around 55cm apart.
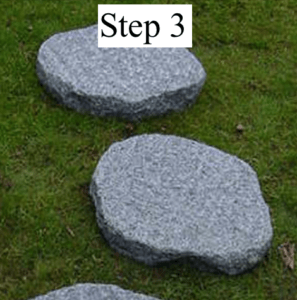
Step 3
Adjust the distance to suit your project and walking pace. A Japanese path never follows a straight line, so introduce some curves.
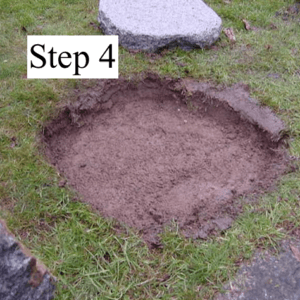
Step 4
Dig out some soil to create a pocket for the bed of mortar. The top of the stepping stone should finish below the level of the lawn when completed.
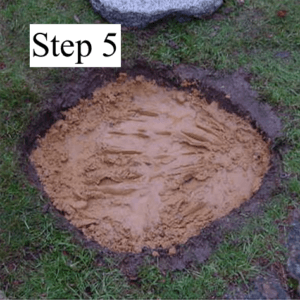
Step 5
Prepare a mix of 4 parts ‘soft sand’ and 1 part cement with some water. The bed of mortar should be around 5cm thick to ensure a solid base.
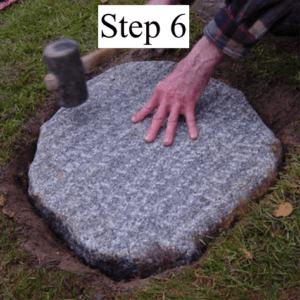
Step 6
Lay the stepping stone onto the mortar and hammer down with a rubber mallet. The top surface should be just below the level of the lawn so that you can mow over it.
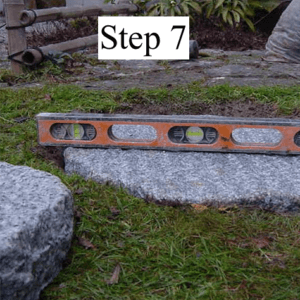
Step 7
Use a spirit level to ensure that the stepping stone is at the correct height and that it is laying level. Allow the bed of mortar to cure for one or two days bfore using the path.
T
Trouble shooting
- The correct consistency of mortar is important. If it is too dry the stepping stone will not bed well. If it is too wet the stepping stone will sink.
Please feel free to leave a comment below with any questions you have. Equally, you are welcome to contact us by phone on 01622 872403 or by email info@rhinorock.co.uk
For a downloadable copy please click here – how do I create a stepping stone path across grass pdf
Product
Round Stepping Stones
Irregular Stepping Stones
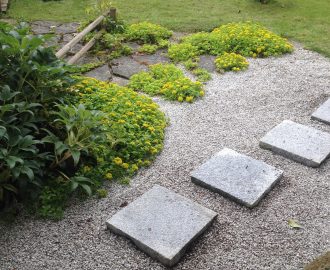
Square Stepping Stones
Hi there,
Just received my granite stepping stones which are beautiful. The delivery and customer service throughout has been exceptional and will definitely recommend your site to friends and family.
I have a question with regards to laying the stones. Does it matter which side up they are laid? I prefer the smooth side whilst my husband likes the rougher side.
Kind regards
Pam.
Hello Pam,
You did email us on this subject and our reply is that the granite stepping stones have a ‘bush hammered’ top surface to walk over as it is non-slip even when wet.
The underside is smooth and should be laid on the ground, or bedded into mortar to secure it from moving. Kind regards – Howard Healey
Wow! You make it sound so easy! Good job.
Thank you,
Scott (from Ace Concreting Canberra)