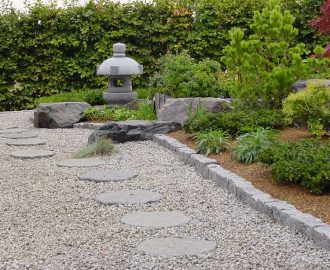
How do I create a stepping stone pathway across gravel
Step 1
Start by choosing the right location. Prepare the ground by raking it and level it wherever possible.
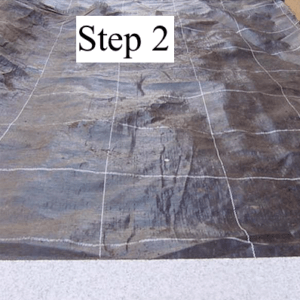
Step 2
Lay weed membrane over the area. Fold the edges under, and pin it down.
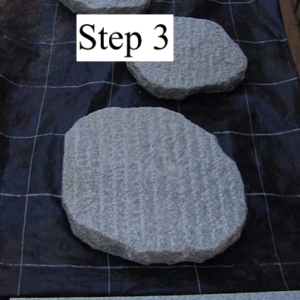
Step 3
Lay the stepping stones out to ensure that they are in the correct position.
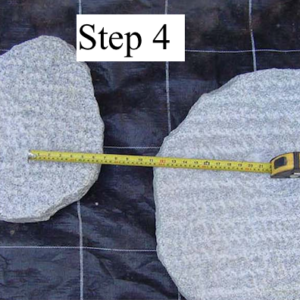
Step 4
The stepping stones should be set with their centers around 55cm apart. Adjust this distance to suit your project and walking pace. A Japanese path never follows a straight line, so introduce some curves.
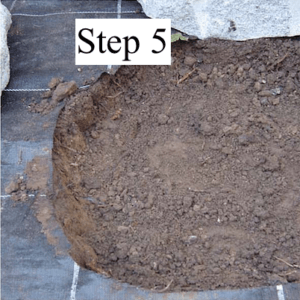
Step 5
Mark around the stepping stone and cut out the weed membrane. Dig out some soil to create a pocket for the bed of mortar, allowing sufficient space around to move the stone if required.
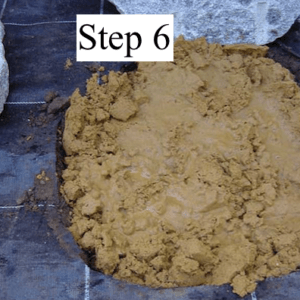
Step 6
Prepare a mix of four parts ‘soft sand’ and one part cement with some water. The bed of mortar should be around 5cm thick to ensure a solid base. Lay the stepping stone on to the mortar and hammer down with a rubber mallet.
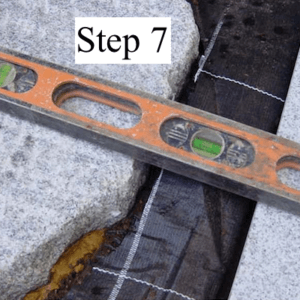
Step 7
Use a spirit level to ensure that the stepping stone is at the correct height and that it is laying level. Allow the bed of mortar to cure for one or two days bfore using the path.
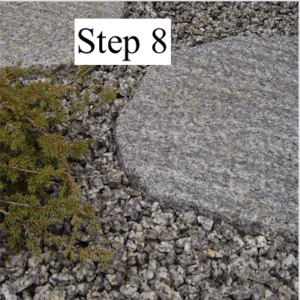
Step 8
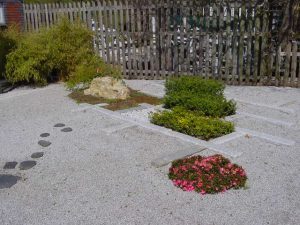
Lay the remaining stepping stones to complete the path. Cover the weed membrane with our matching silver grey gravel. Add some evergreen planting to soften the hard landscaping.

T
Trouble shooting
The correct consistency of mortar is important. If it is too dry the stepping stone will not bed well. If it is too wet the stepping stone will sink.
If in doubt please contact us by phone on 01622 872403 or by email info@rhinorock.co.uk
For a downloadable copy please click here – how to.. create a stepping stone path across gravel pdf
Product
Round Stepping Stones
Irregular Stepping Stones
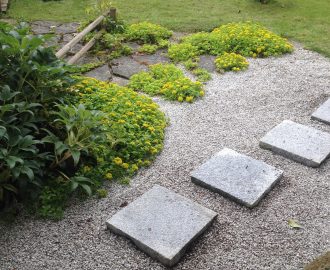
Square Stepping Stones
Silver Grey ZEN Gravel