
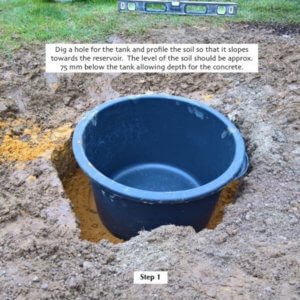
How do I set up a bamboo fence
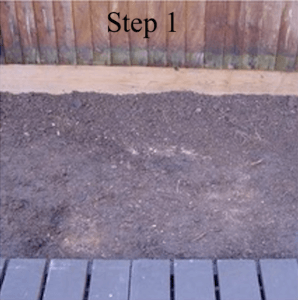
It is best to fix bamboo fencing so that it sits just out of the ground (rather than buried) to preserve the bamboo for as long as possible.
There are two methods that can be used to secure bamboo fencing; wooden ground stakes or threaded bar. We do not stock these materials, but they should be reguarly available at local garden centres / builders merchants.
Wooden Ground Stakes
Near the start and end of the run we would bury a wooden stake approx 20/30cm into the ground for stability. If is a long run of fencing you can add more stakes to increase stability.
In the horizontal lengths of bamboo on the fence, where it meets the wooden stakes, drill a small pilot hole through the bamboo, and then screw the fence to the wooden stake. For our standard 60cm tall four eye fences, the wooden stakes need to be a minimum of 50cm out the ground to ensure you can screw into the post from the top horizontal bamboo pole.
Rebar
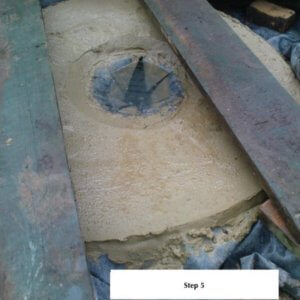
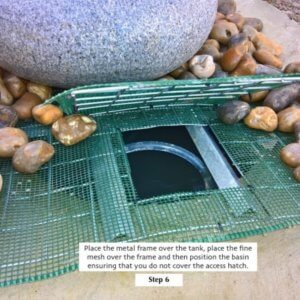
Position the threaded bar in the ground so that they are inline with two vertical poles. Bury them into the ground so that approx. 15-20 cm of the rebar is out of the ground. Lift the bamboo fence and position it so that the rebar sits within the hollow of 2 vertical bamboo poles. As the rebar sits within the fence, it means it is hidden from view.

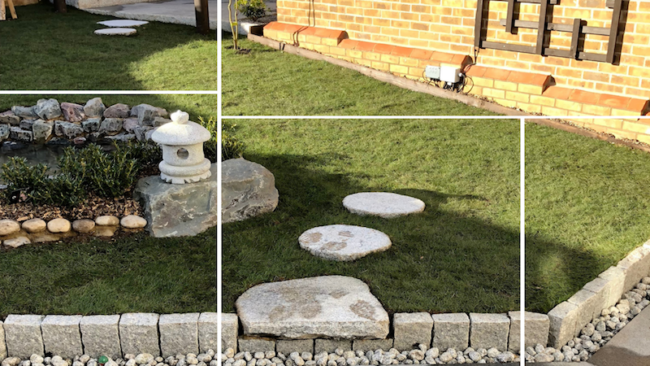
Wooden Ground Stakes used to secure the four-eye fence.


")